Here's the step-by-step guide for installing Raspberry Pi Pico support in the Arduino IDE#
Step 1 – Open Arduino IDE Make sure you are using Arduino IDE 2.x (recommended) or at least
Arduino IDE 1.8.19.
Step 2 – Open Preferences Go to File → Preferences (Windows/Linux) or Arduino IDE → Preferences (Mac). In the window that opens, look for the box "Additional Board Manager URLs".
Step 3 – Add the Pico Board URL Paste this URL into the box:
https://github.com/earlephilhower/arduino-pico.git
Step 4 – Open Board Manager Go to Tools → Board → Board Manager. In the search bar, type:
rp2040 Find "Raspberry Pi RP2040 Boards (by Earle Philhower) Click Install.
Step 5 – Enter Bootloader Mode & Upload Sketch
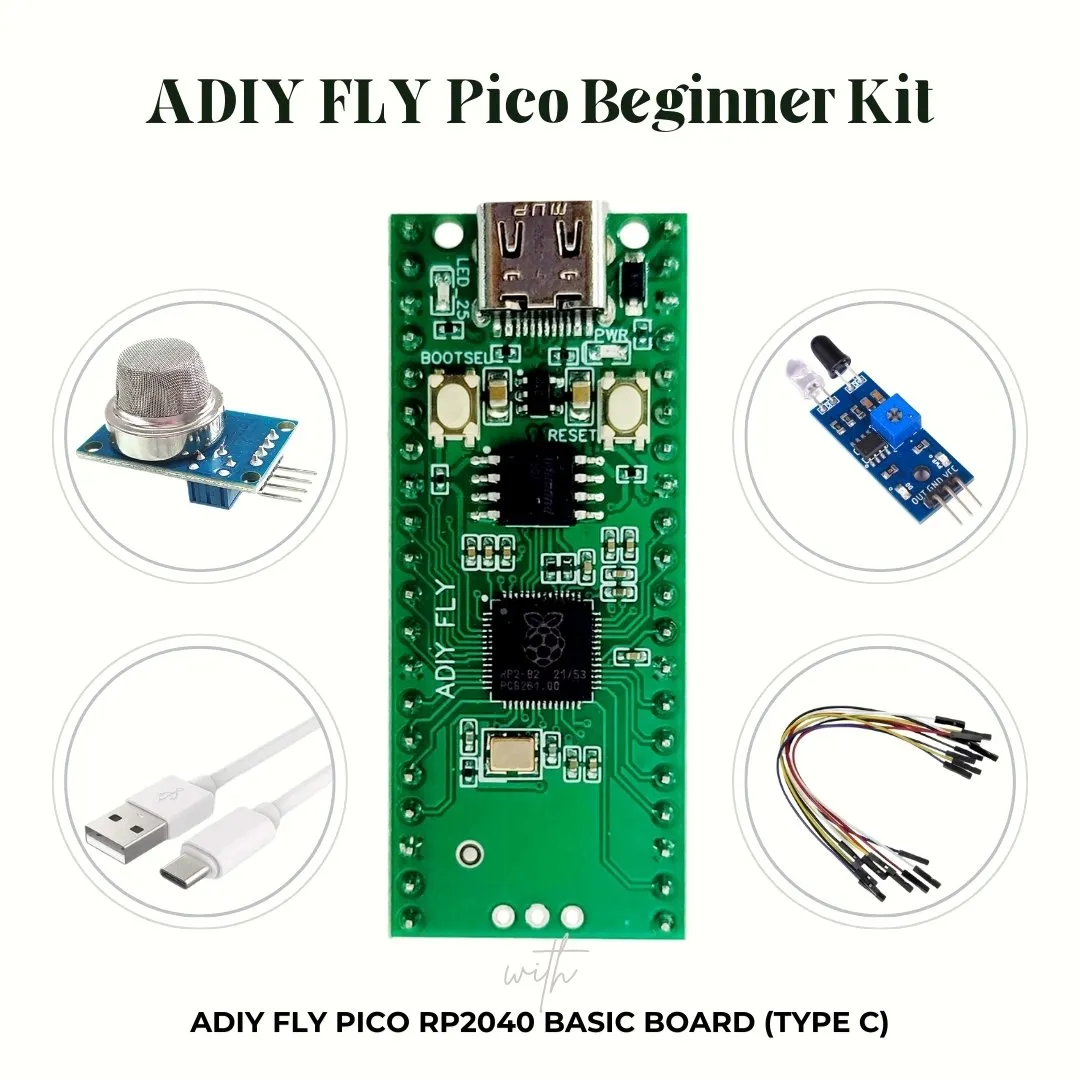
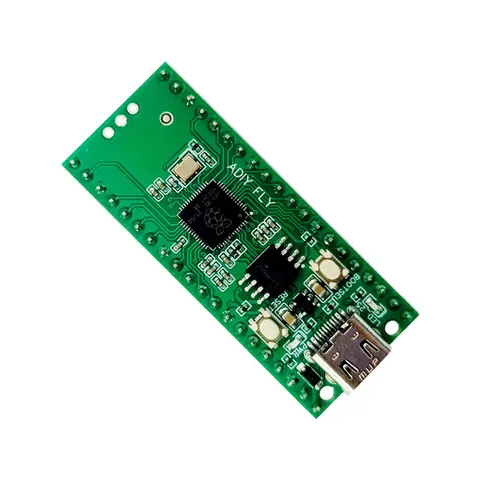
Press and hold the BOOTSEL button on your Raspberry Pi Pico, then connect it to your computer using a USB cable. Release the button once a new storage drive (usually named RPI-RP2) appears on your computer. This means the board is now in bootloader mode, ready to receive code. You can now upload your first sketch from the Arduino IDE.
Step 6- Connect your Raspberry Pi Pico via USB: Go to Tools → Board and select: Raspberry Pi Pico.
Step 7 – Select Port: Go to Tools → Port and choose the COM port that shows up when the Pico is connected. On Windows, it appears as "USB Serial Device". On Mac/Linux, it shows as /dev/tt
Step 8 – Upload a Test Sketch Open File → Examples → Basics → Blink. Click the Upload button. Now your Pico is fully set up for Arduino IDE